Table of Contents
7.11.4. Containers and Groups
Streamline provides the option to apply some restricting values to the replenishment order. Besides min lot, max lot and rounding, you’re also able to load a container with different item codes or to order by using group min lot.
You can import both Containers and Groups from your data source through the Item Info tab, or create them inside of Streamline.
Algorithm
Both containers and groups are based on a group ordering algorithm.
This includes defining future purchase orders for each item that is assigned to the same container, putting them all on the same timeline, and finding the right proportion ratio between those items to order accordingly. This way we get an accumulated plan for the container.
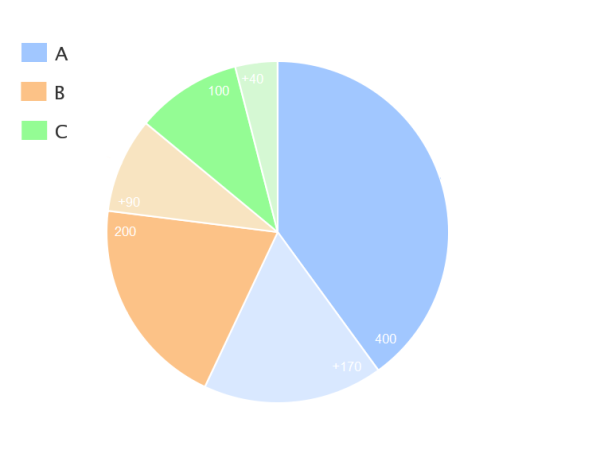
For example, we’re looking at three SKUs: A, B and C that are assigned to the same container coming from the given supplier. Preliminarily, Streamline calculated that we need to order:
- SKU A - 400 pcs
- SKU B - 200 pcs
- SKU C - 100 pcs
The total of it will be 700 pcs, where A takes 57%, B - 29%, C - 14%.
On the other hand, knowing we can fit maximum 1000 pieces of the product into one container, Streamline will try to round up the quantities to fill up the container, so we don’t order it half-empty.
So the next step will be increasing replenishment quantities for each of the SKUs, but maintaining the same percentage ratio:
- SKU A 400 → 570 (57%)
- SKU B 200 → 290 (29%)
- SKU C 100 → 140 (14%)
Only after the group ordering calculation is done, then Streamline applies the rest of restricting values like min or max lot and rounding.
How to use: Containers
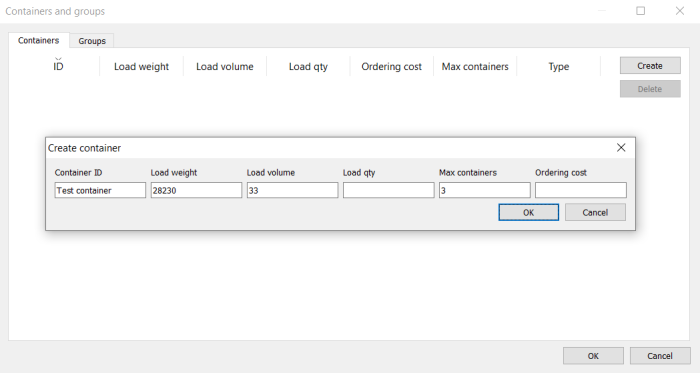
Containers work as a rounding value and can be defined by load weight, volume, or quantity. You’re also able to specify the ordering cost of the container ( needed for EOQ calculations) and maximum number of containers that can be ordered from a supplier at a time.
To create a container in Streamline:
- Go to the Inventory Tab
- Click Containers and groups button in the Toolbar.
- Click Create in the Containers tab.
- Type in all needed data and click OK.
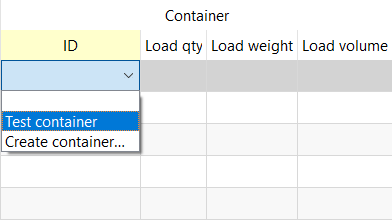
When at least one container is created, you’ll see an additional column appearing in the Inventory spreadsheet.
To assign the created container to SKU, double-click a cell under the ID column on a needed item’s line.
Once the container is assigned, Streamline will consider its parameters to round a replenishment order the way that items fill up the container.
How to use: Groups
Streamline has Min lot value that can be applied individually to each SKU. But if you need to apply Min lot to a group of items, you can use Groups.
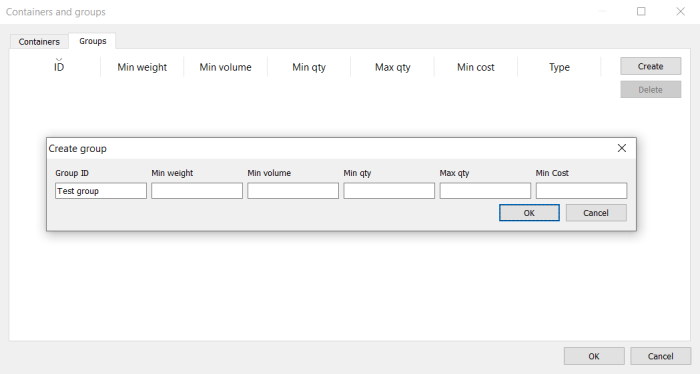
Similar to containers, groups can be defined by weight, volume, quantity, or cost. Make sure you import data of a chosen parameter for each SKU individually as well.
To create a Group:
- Go to the Inventory Tab
- Click the Containers and groups button in the Toolbar.
- Go to the Groups Tab in the Containers and groups dialog.
- Click the Create button.
- Type in all needed parameters.
- Press OK.
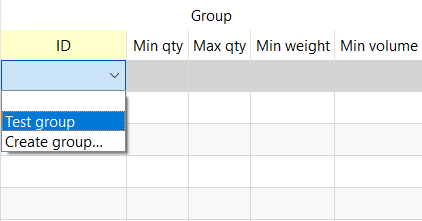
Once the Group is created, you’ll see a new column appearing in the report.
To assign the created group to SKU, double-click a cell under the ID column on a needed item’s line.
How to use: Manufacture Groups
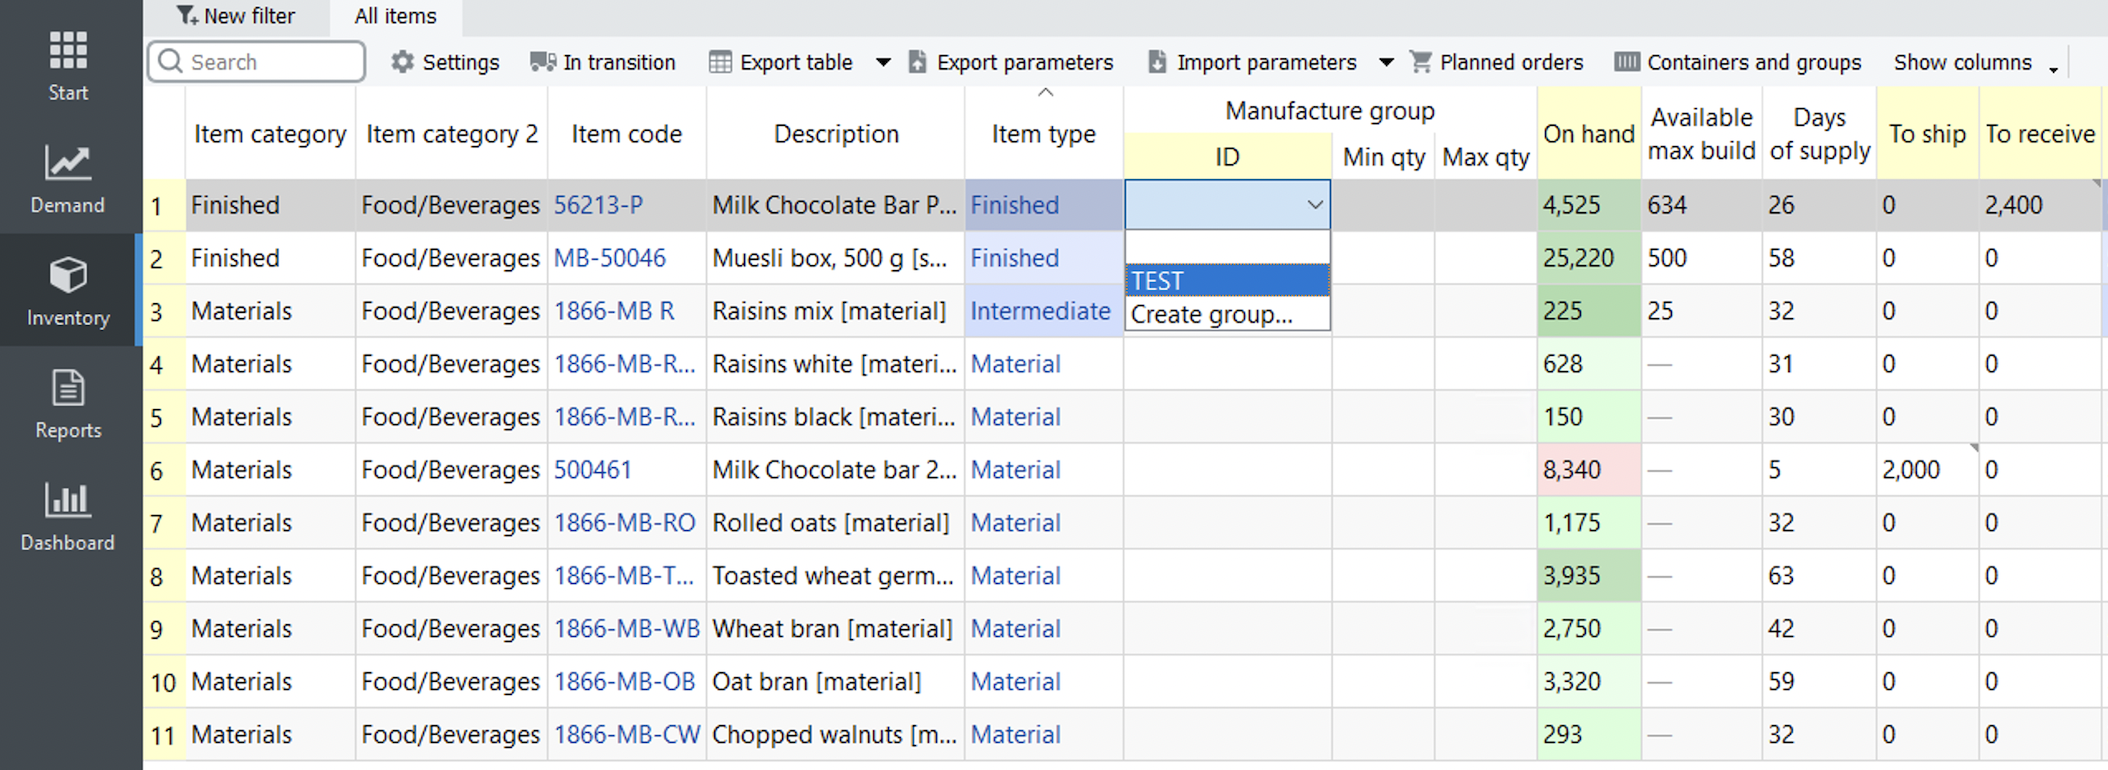
Essentially, the Manufacture groups feature is related to working with manufacturing lines. Users can create Manufacture groups in the Containers and Groups dialog and set Max qty / Min qty for them. After that, they can be set for the finished items only, and the set group restrictions will be applied to manufacturing orders.
To create and apply the Manufacture group do the following:
- Go to the Inventory or DC tab.
- Click the Containers and groups button.
- Go to the ‘Manufacture groups' tab in the dialogue.
- Create as many manufacture groups as you need and specify parameters for them.
- Click ‘OK’
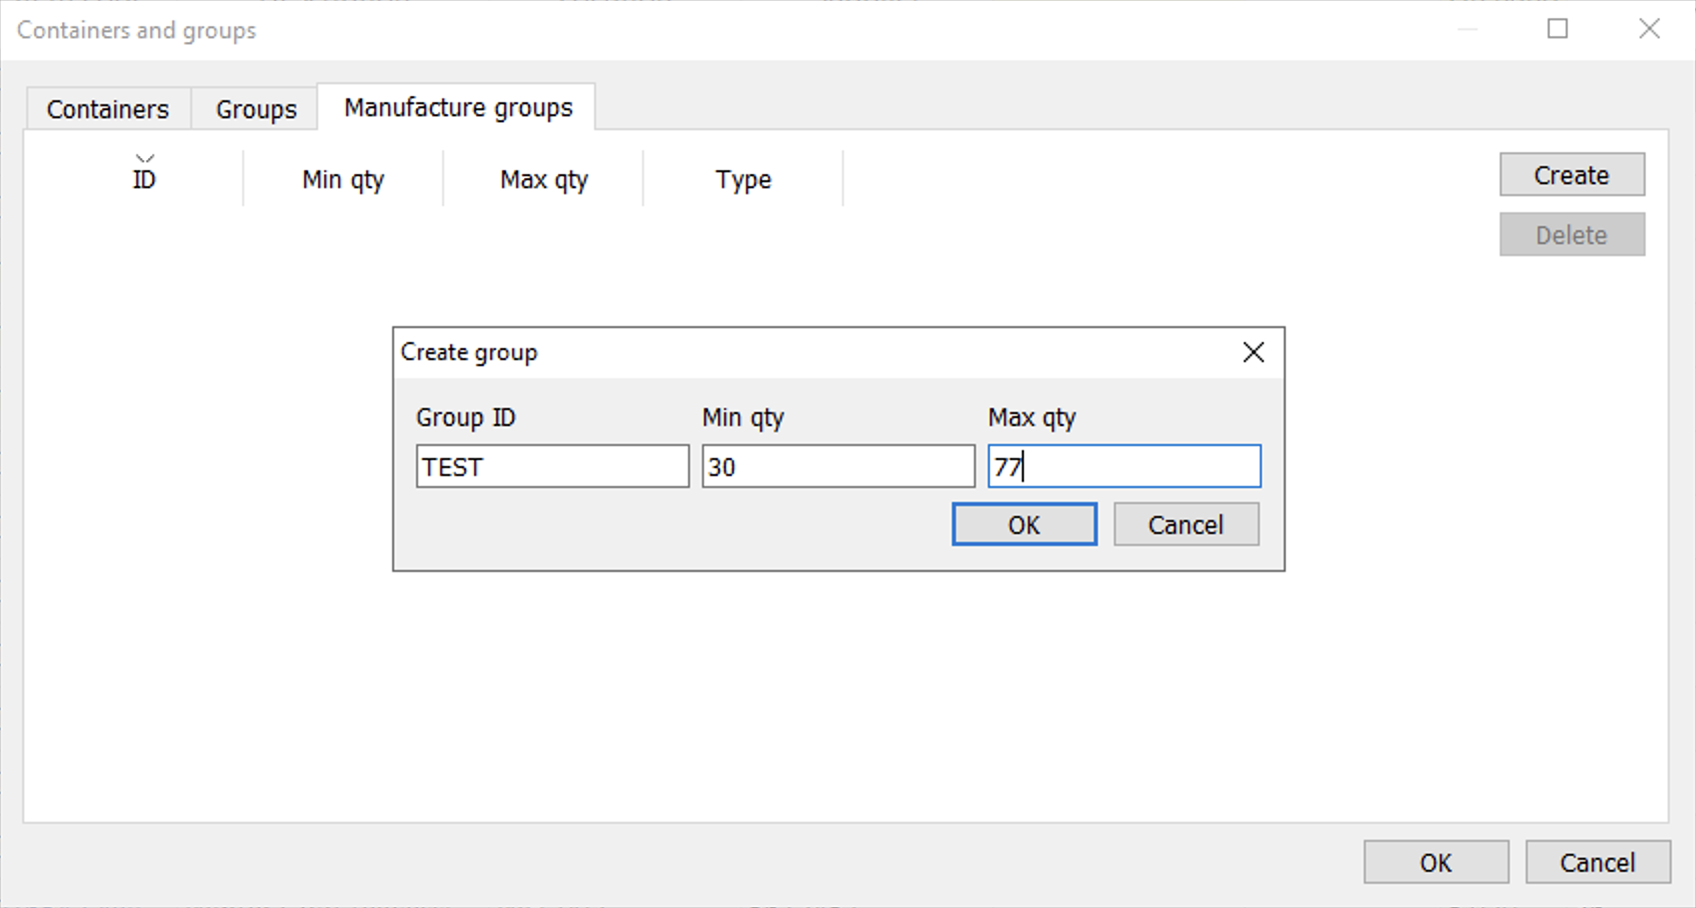
When the manufacture group is created, the user will see the additional column appearing in the table under the Inventory or DC tab.
To assign the newly created group to the item code, double-click on the cell under the ID column and select the needed group from the list.
In case the Manufacturing ID should be applied in bulk, create a filter with necessary item codes. Then select this cell and press Ctrl+A. When the range of item codes is selected press F2 and choose Manufacturing ID from the list.
