User Guide
1. Streamline Client
2.Streamline Server
3. Starting Up
4. Connecting data
5. Demand and Sales Forecasting
6. Inventory Planning
7. Reference
1. Streamline Client
2.Streamline Server
3. Starting Up
4. Connecting data
5. Demand and Sales Forecasting
6. Inventory Planning
7. Reference
 Add this page to your book
  Remove this page from your book
 In this article we describe:
QuickBooks handles several types of items. There are the Inventory Part and Inventory Assembly types among them. Only items of these two types are imported into Streamline and are treated as items.
If your QuickBooks version has the Advanced Inventory module and it is enabled, QuickBooks allows you to work with different sites. In this case, Streamline treats QuickBooks's sites as locations and imports them as a separate data dimension.
If your inventory is organized in a hierarchy by means of the Subitem of option in QuickBooks, Streamline will automatically pull that data hierarchy and create the same item categories that you have in QuickBooks.
Data imported into Streamline is described in the Inventory Management Systems article.
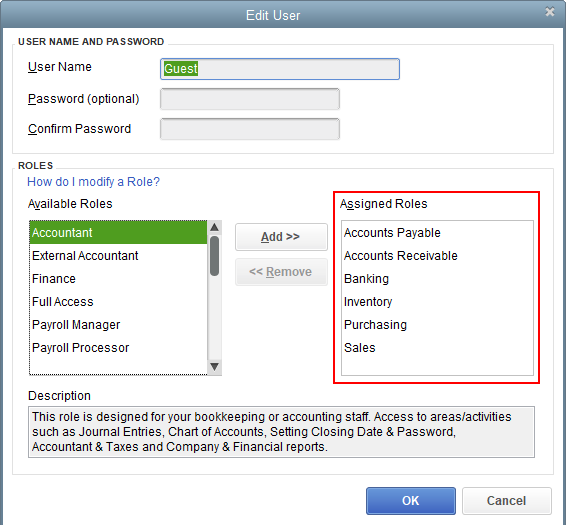
To perform a data import from a company file, QuickBooks requires you to grant Streamline access (see the Authorization procedure below). This should be done under the QuickBooks Administrator account, however, only once for a company file. Future data synchronization can be performed under another QuickBooks user, not the Administrator. This user should be assigned at least the roles depicted in the figure below.
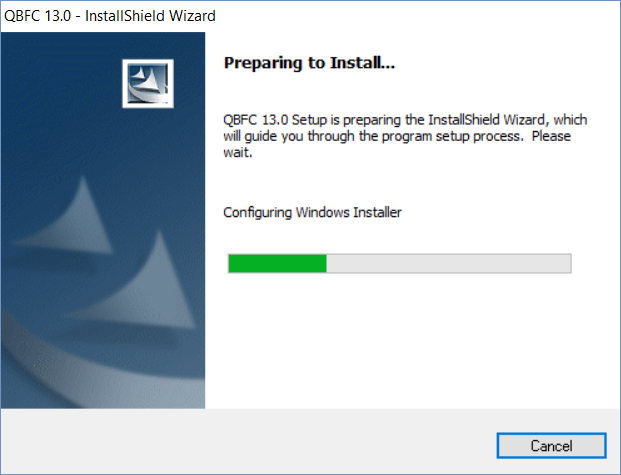
Streamline uses native QuickBooks API to import the data. This API is based on QuickBooks Foundation Classes library. Thus, before we proceed to the workflow, you should download and install this library on your computer.
Watch a video tutorial (2:07)
1. Open QuickBooks and then open the company file you want to import data from (no matter whether it is located on a local or network drive).
2. Launch Streamline on the same machine where QuickBooks is opened, go to the menu File > New > QuickBooks connection, navigate to the company file (which is still opened in QuickBooks), and click Open. The QuickBooks connection dialog opens (see figure below).
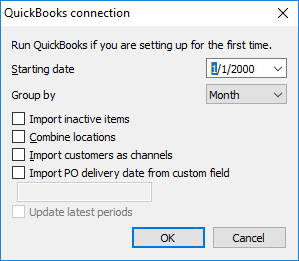
3. Configure the QuickBooks connection dialog.
3.1. Enter or choose the date to start the import from in the Starting date control.
3.2. Choose the data aggregation period in the Group by control. Streamline automatically aggregates your data in the given periods (days, weeks, or months). For example, if you want to see the forecasts, replenishment plans, and other reports in months, group the data by month.
The below actions are optional in this subsection.
3.3. If you need Streamline to grab inactive items, set the Import inactive items option checked.
3.4. Combine locations option is useful when your warehouses are located next to each other, so they can be planned as a single aggregated warehouse. In this case, set this option enabled. This option is only available if your QuickBooks has Advanced Inventory module activated.
3.5. Import customers as channels option allows you to activate an additional dimension in Streamline in order to plan your demand by Customer.
3.6. By default, Streamline pulls the purchase order Expected delivery date from the default QuickBooks field. This is done on an order basis. But what if you manually manage this date so that lines in PO have a different expected delivery date? The Import PO delivery date from custom field option is used to handle this situation and allows you to import PO expected delivery date on an order line basis. To do this, check the option and enter the name of the custom filed to pull the date from.
4. Click OK. QuickBooks authorization dialog appears, prompting you to choose the access level you want to grant (see figure below).

5. We suggest choosing “Yes, always;…”. Click Continue.
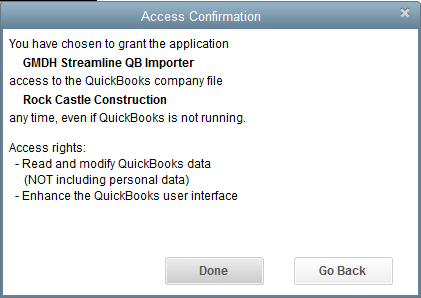
6. In the Access Confirmation dialog click Done (see figure below).
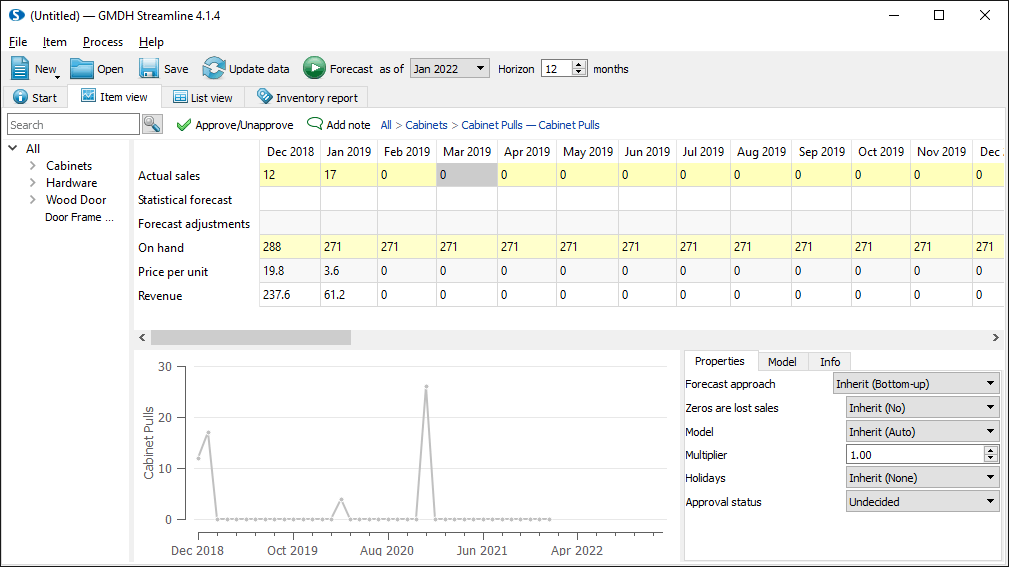
In a few moments (depending on the amount of data) you’ll see the imported data in Streamline (see figure below).
In this section, we describe how PO delivery date should be set up and used in QuickBooks in order to import it properly into Streamline on an item basis.
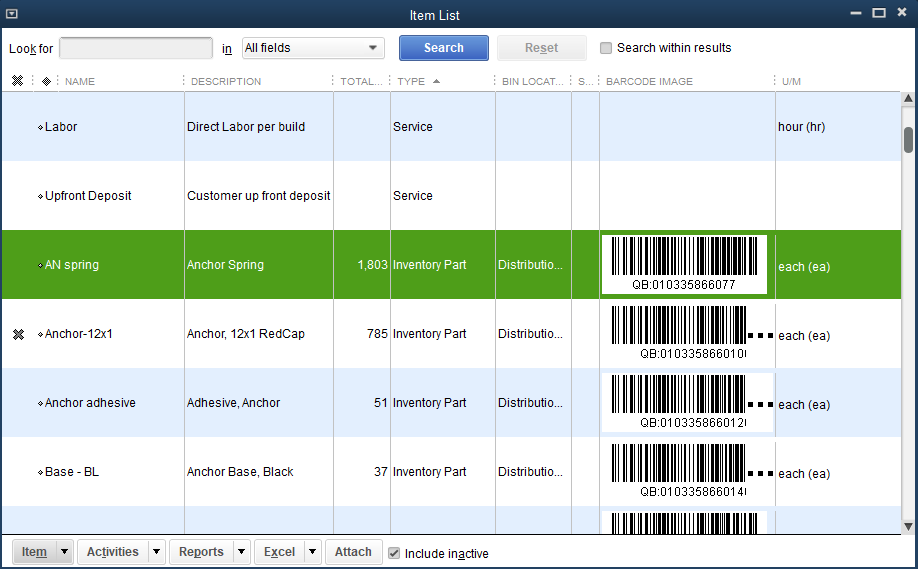
1. Open QuickBooks and go to the menu Lists > Item List (see figure below).
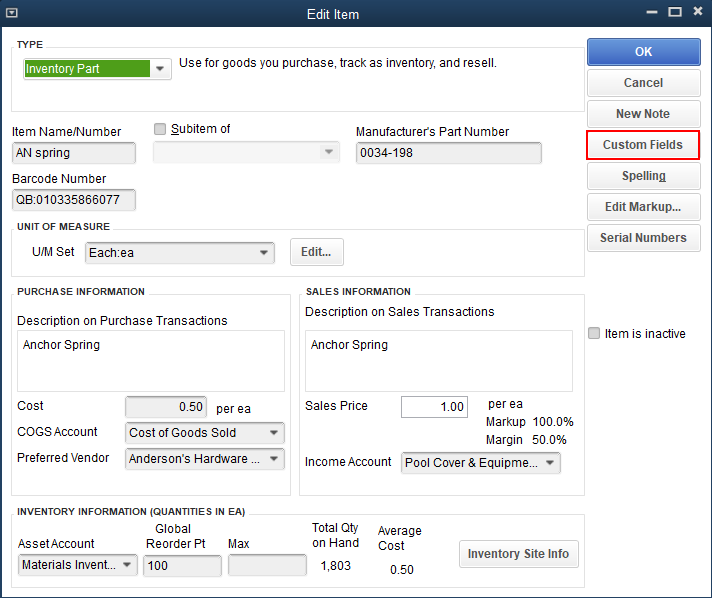
2. Open item card by double-clicking on it and press the Custom fields button (see figure below).
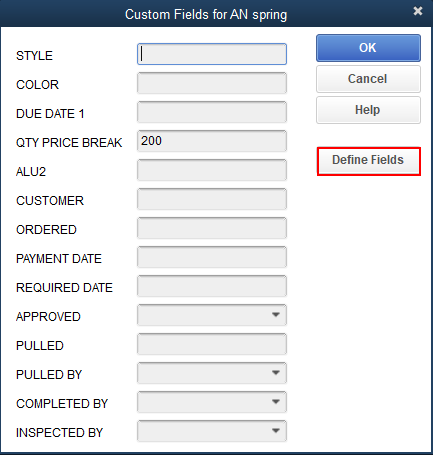
3. Click the Define fields button in the Custom Fields dialog (see figure below).
4. Choose one of the unused fields. Rename it, for example, “Delivery Date” (see figure below).
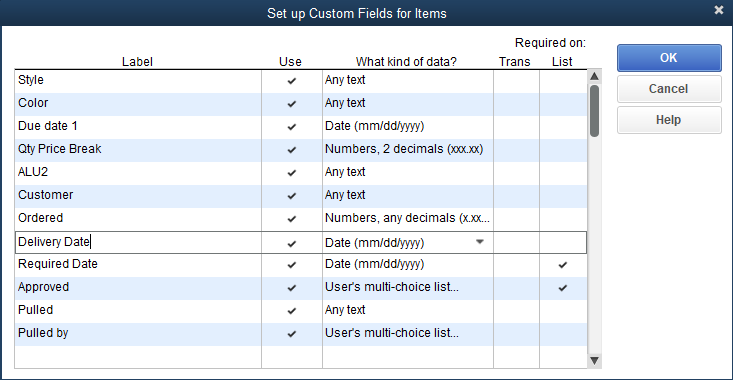
5. Click OK in all the dialogs we have opened.
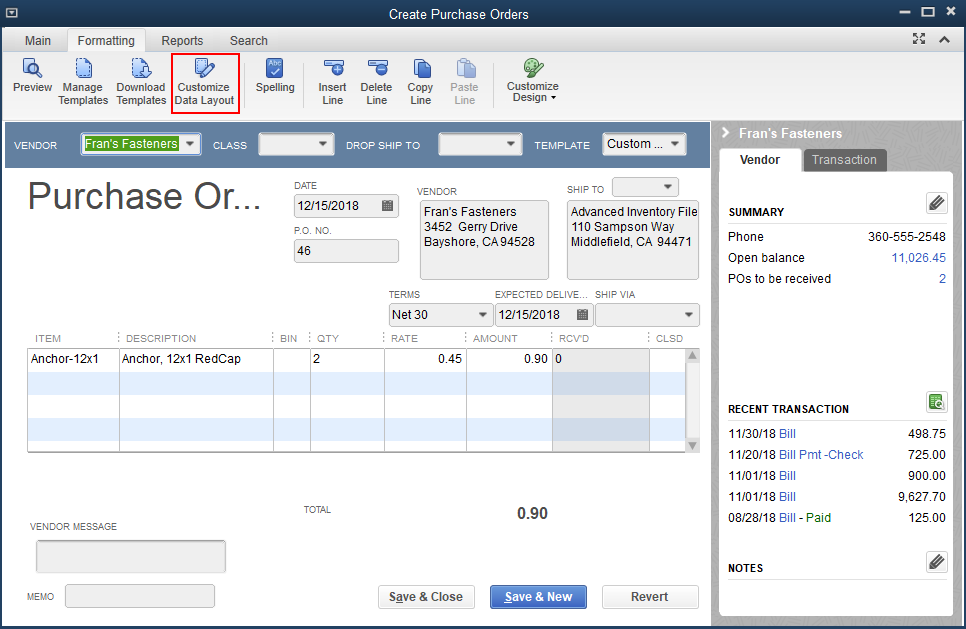
6. Open a purchase order, go to the Formatting tab, and click the Customize Data Layout button (see figure below).
7. Go to the Columns tab, scroll the list down to the custom field we have renamed to “Delivery Date”, and check the first checkbox (see figure below).
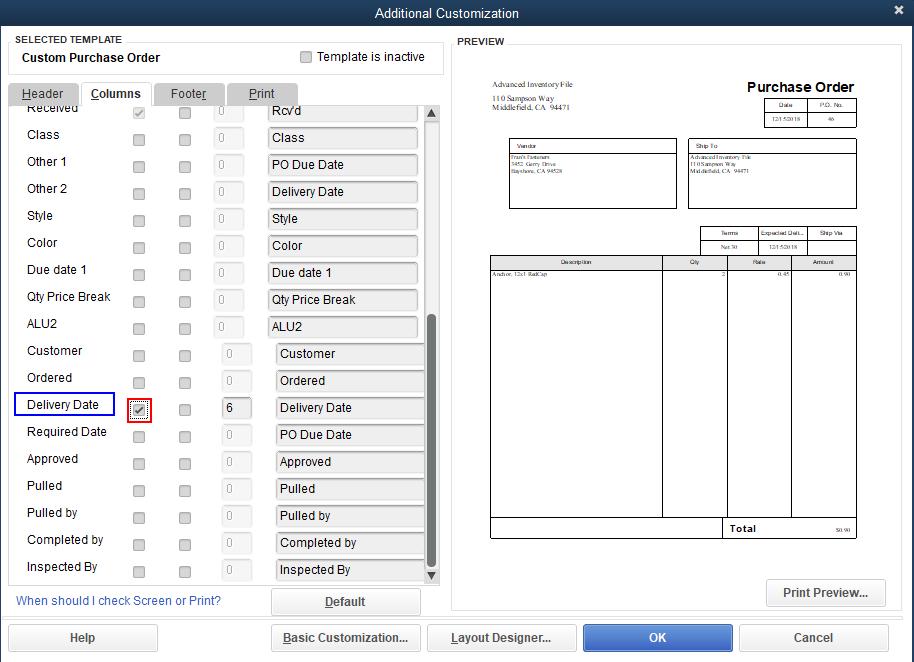
8. Click OK.
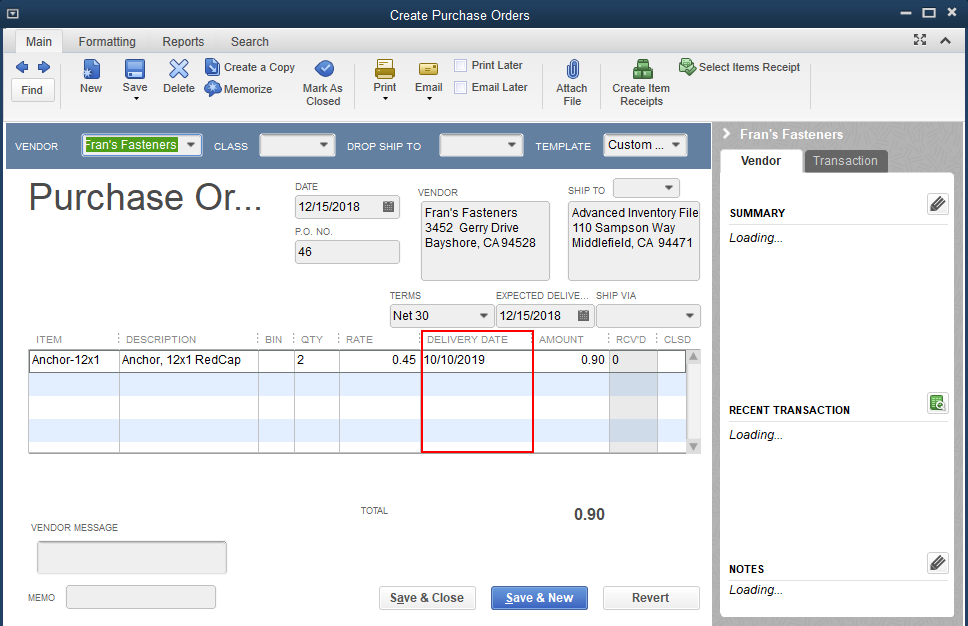
Now, the PO template is extended with a new column “Delivery Date” which you can use to store expected delivery date on an item basis (see figure below).
If Streamline opens a new (Secondary) QuickBooks window while connecting to QuickBooks, do the following:
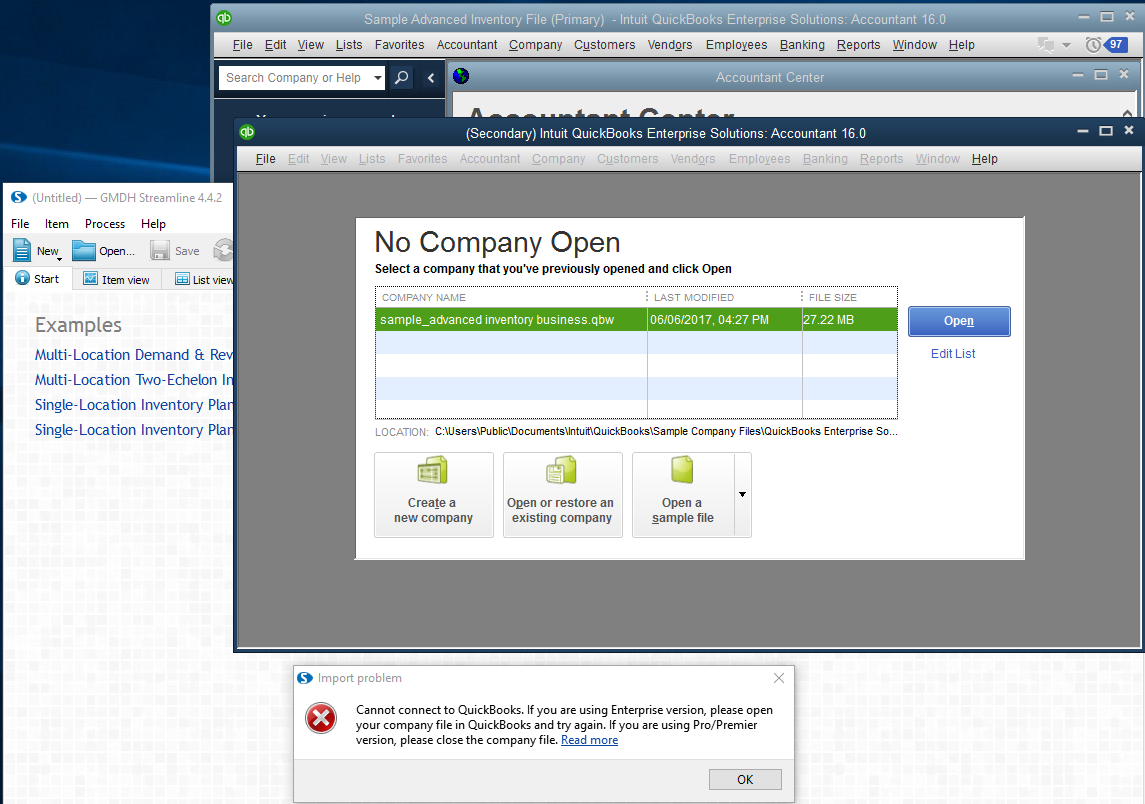
This error arises when you connect to a QuickBooks company file remotely and paths to the file specified in your local QuickBooks instance and Streamline do not match (see figure below).
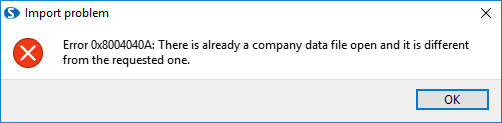
Typically, it happens when you open your company file using a standard windows network shared folder in QuickBooks and via a network drive in Streamline or vice versa (see figures below).
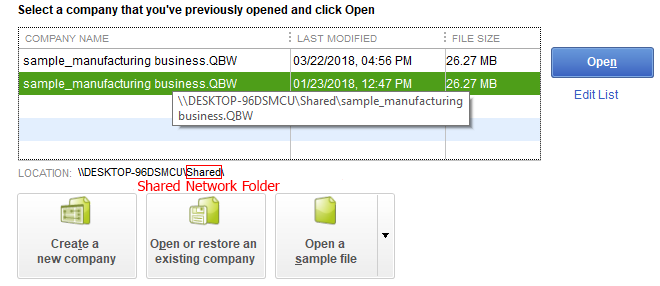
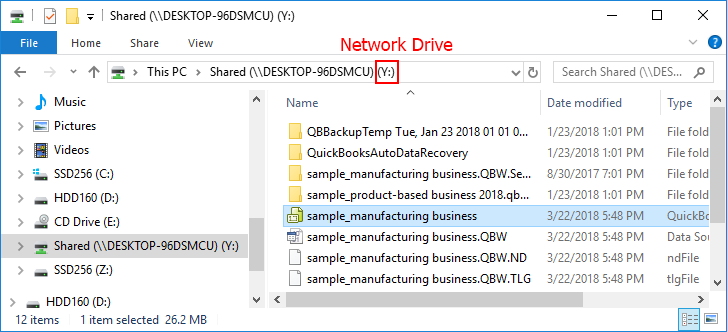
Despite this is the same file, the paths are different.
Thus, to resolve the issue, keep the path to the company file the same across Streamline and your local QuickBooks instance.
This error occurs if the access to the QuickBooks company file is disallowed (see figure below).

To resolve the issue:
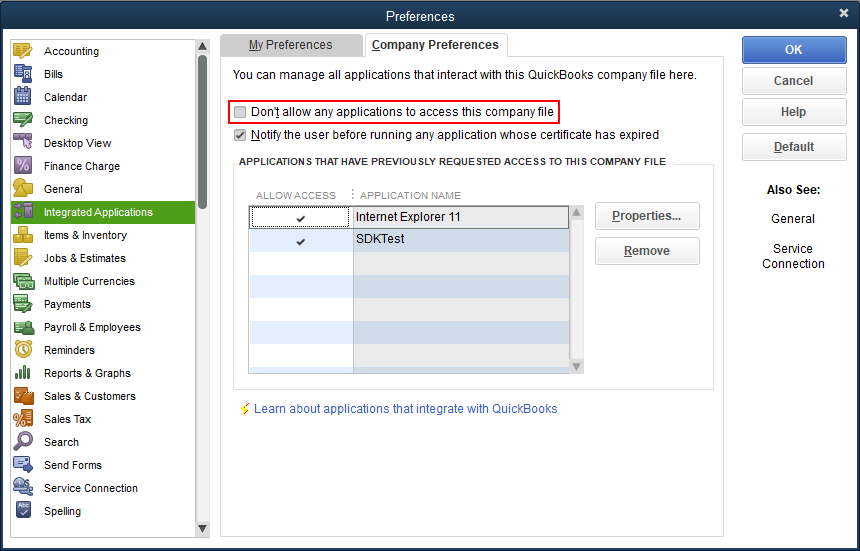
You must be logged in under the QuickBooks Administrator account to grant access.
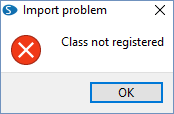
This error arises when you click Update data button in Streamline, but your machine on which you have QuickBooks and Streamline installed is missing QBFC file.
QBFC (QuickBooks Foundation Classes) is a library on which API for data import is based.
To resolve the issue follow these steps:
 Manage book (
 Help
Help