User Guide
1. Streamline Client
2.Streamline Server
3. Starting Up
4. Connecting data
5. Demand and Sales Forecasting
6. Inventory Planning
7. Reference
1. Streamline Client
2.Streamline Server
3. Starting Up
4. Connecting data
5. Demand and Sales Forecasting
6. Inventory Planning
7. Reference
 Add this page to your book
  Remove this page from your book
 In this article we describe:
The key entities which Skubana operates on are master SKU, virtual SKU, categories, warehouse, and sales channel.
| Skubana | Streamline |
|---|---|
| Master SKU | Item |
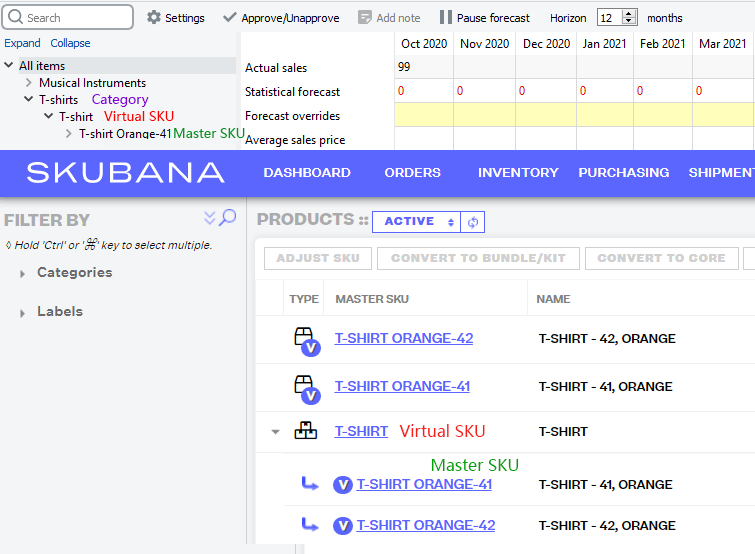
| Virtual SKU | Item category right above item code. |
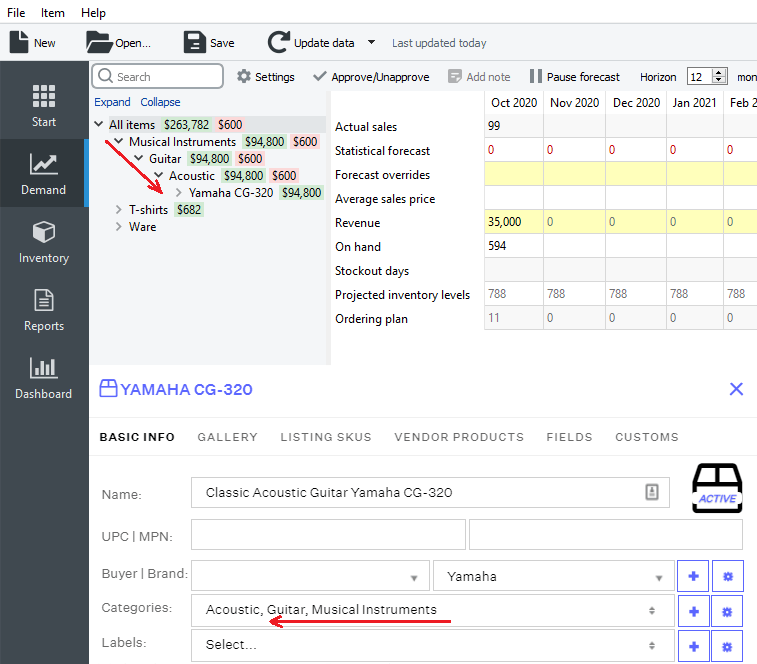
| Categories | Item categories above the virtual SKU category. |
| Warehouse | Location |
| Sales channel | Channel |
Virtual SKU is imported into Streamline as a category right above master SKU (see figure below).
Categories are imported in the opposite direction when the data hierarchy is being built in Streamline (see figure below).
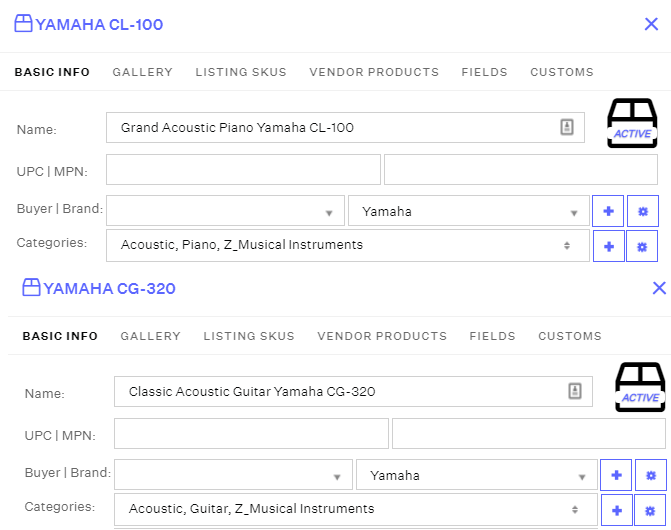
Let us have two products with the following categories in Skubana (see figure below).
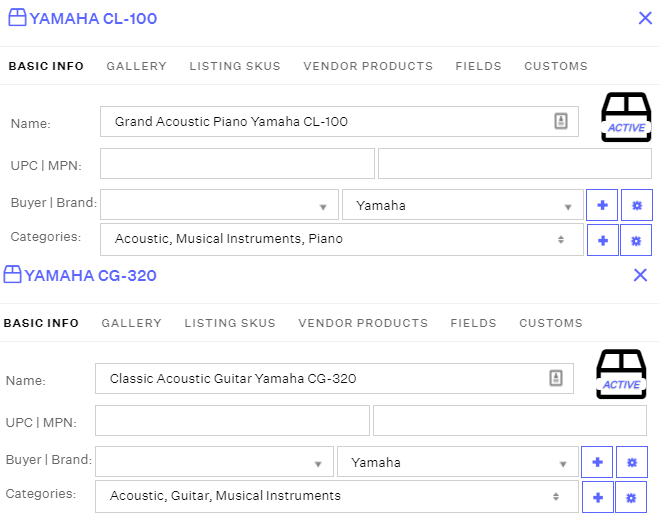
As you see, Skubana sorts categories in alphabetical order from A to Z. Thus, if we import these products in Streamline, we will get the data hierarchy depicted in the figure below.
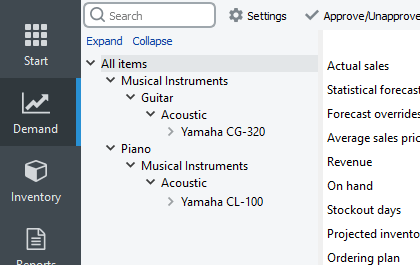
But, we want the Piano category to be under the Musical instruments category. The trick is to add a prefix letter to the Musical instruments category to make Skubana sort products' categories in the proper order. For example, let's rename it to Z_Musical instruments (see figure below).
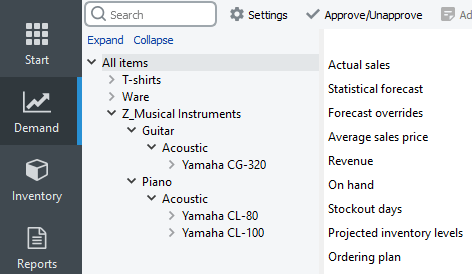
Now, Skubana sorts categories just we want them to be ordered. The result of import is shown in the figure below.
There only one integration limitation - no on-hand history is available due to the limitations of Skubana's API. It means that Streamline is not able to:
Data imported into Streamline is described in the Inventory Management Systems article.
To create a new Streamline project from Skubana data, do the following:
1. Login to your Skubana account.
2. Open Streamline and go to the File > New > Skubana connection. The Skubana connection dialog appears (see figure below).
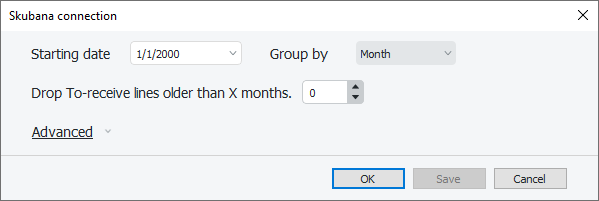
2. Enter or choose the date to start the import from in the Starting date control.
3. Choose the data aggregation period in the Group by control. Streamline automatically aggregates your data in the given periods (days, weeks, or months). For example, if you want to see the forecasts, purchase/replenishment plans, and other reports in months, group the data by month.
4. Click OK. Streamline starts the authorization procedure (explained below). If the authorization is successful, Streamline will import your data and create a new project.
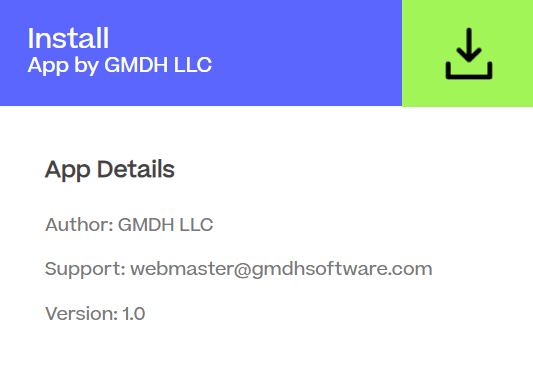
1. Streamline opens a Skubana's application store page with Streamline app in your default browser. Click on the down-directed arrow to install and add Streamline into your account's apps (see figure below).
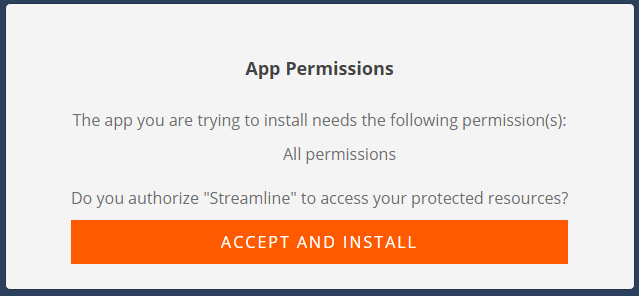
2. Grant Streamline access to your data by clicking the Accept and Install button (see figure below).
3. After that, Streamline redirects you to a new page with the message shown in the figure below.
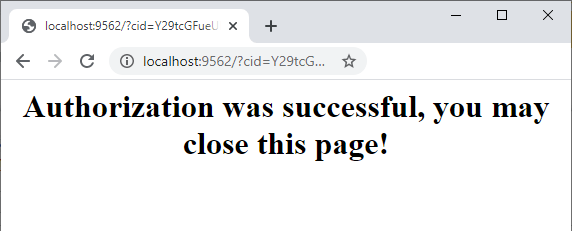
Now, you may close the browser and wait up until Streamline imports the data.
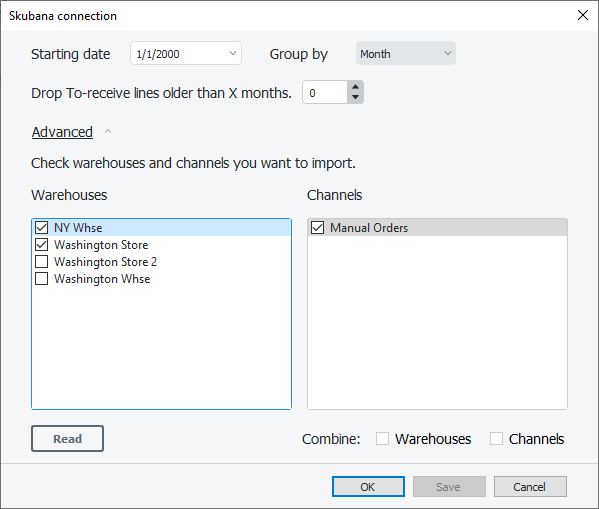
The Advanced button of the connection dialog shows some additional settings that allow you to select a particular set of warehouses and channels you want to import (see figure below). You can combine channels, warehouses, or both of them.
To make use of the settings:
1. Read your warehouses and channels from Skubana by clicking. the Read button. This action may require you to go throught the authorization procedure.
2. Select the necessary warehouses and channels from the lists.
3. Choose your combine option.