User Guide
1. Streamline Client
2.Streamline Server
3. Starting Up
4. Connecting data
5. Demand and Sales Forecasting
6. Inventory Planning
7. Reference
1. Streamline Client
2.Streamline Server
3. Starting Up
4. Connecting data
5. Demand and Sales Forecasting
6. Inventory Planning
7. Reference
 Add this page to your book
  Remove this page from your book
 In this article we describe:
The integration between Streamline and Micronet Advanced Suite (Australia) is one-directional. It means that Streamline reads all necessary data from the Micronet's database to produce demand forecasts and purchase plans, however, it cannot automatically create purchase orders in Micronet based on the calculated purchase recommendations.
Data imported into Streamline is described in the Inventory Management Systems article.
Streamline connects to the Micronet's database using the Micronet's ODBC driver. The connection requires providing credentials (username and password) of a database account that has permissions to read data from the database (execute SQL SELECT query).
The data import includes two steps:
To create the configuration, complete the following steps:
1. Go to the Control pannel > Administrative tools.
2. If your OS is 32-bit, run the ODBC Data Sources. If it is 64-bit, run the ODBC Data Sources (32-bit) (see figure below).

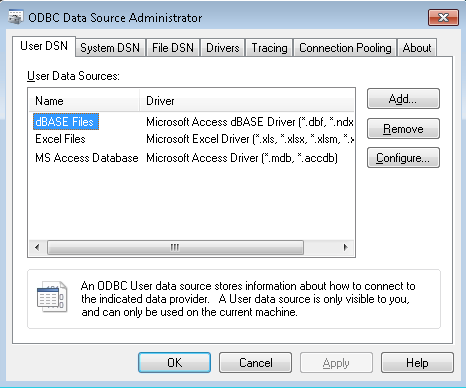
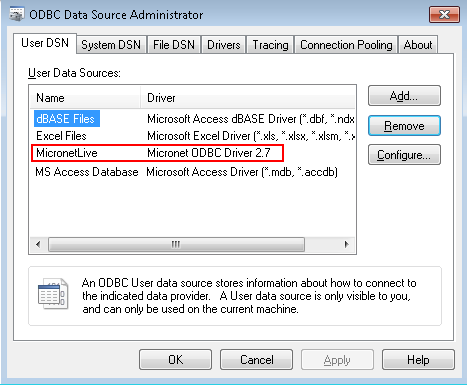
If you use 64-bit OS and do not see this shortcut, go to C:\Windows\SysWOW64\ and run the odbcad32.exe file. The ODBC Data Source Administrator window appears (see figure below).
3. Click the Add button and choose the Micronet ODBC Drive 2.7 from the list (see figure below). The driver should be installed beforehand.
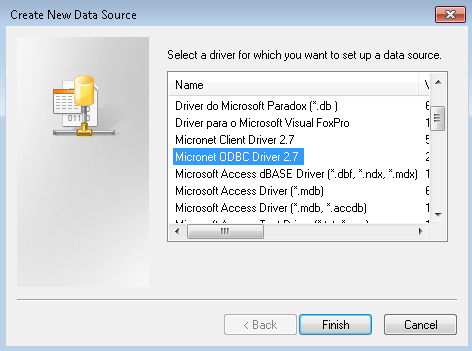
4. Click the Finish button. The driver setup window will appear (see figure below).
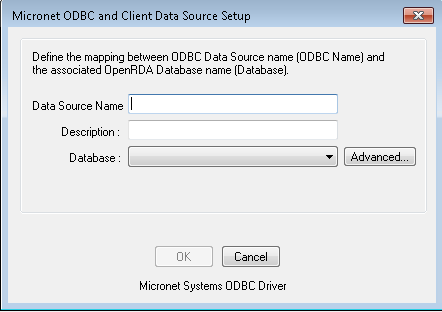
5. Enter a name for your data source. For example, “MicronetLive”.
6. You can add a description for the connection into the Description field (that’s optional).
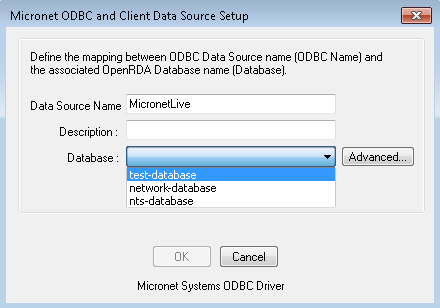
7. Choose the database you’re going to connect to in the Database drop-down list. In our case, that's test-database option (see figure below).
8. Click Ok. Now, the created connection configuration has been added to the list (see figure below).
To create a new Streamline project based on Micronet's data:
1. Go to the menu File > New > Micronet (Australia) connection. The Micronet (Australia) connection dialog appears (see figure below).
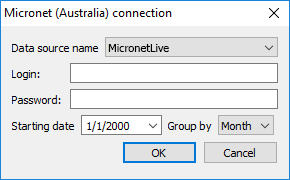
2. Choose your newly created connection configuration in the Data source name drop-down list.
3. Enter your credentials into the Login and Password fields.
4. Enter or choose the date to start the import from in the Starting date control.
5. Choose the data aggregation period in the Group by control. Streamline automatically aggregates your data in the given periods (days, weeks, or months). For example, if you want to see the forecasts, replenishment plans, and other reports in months, group the data by month.
6. Click OK to start the import.
 Manage book (
 Help
Help