User Guide
1. Streamline Client
2.Streamline Server
3. Starting Up
4. Connecting data
5. Demand and Sales Forecasting
6. Inventory Planning
7. Reference
1. Streamline Client
2.Streamline Server
3. Starting Up
4. Connecting data
5. Demand and Sales Forecasting
6. Inventory Planning
7. Reference
 Add this page to your book
  Remove this page from your book
 Database connection allows importing the entire spectrum of data types that Streamline can take in order to plan your demand, forecast revenue, and optimize your inventory. You can activate additional axes in Streamline such as Locations and Channels by providing the corresponding data types. The first one allows you to plan your demand and inventory by location or site. The other one, to forecast and plan your future sales by channel or customer.
Database connection uses the ODBC or MySQL driver to import data into Streamline. This connector works with 32-bit/64-bit ODBC data sources if the 32-bit/64-bit version of Streamline is installed accordingly.
Watch a video tutorial (8:32)
Along with the most commonly used cases as:
we will also explain what data types you need to provide and how to import them in the following special cases:
Besides importing capabilities, Database connection allows you to export the results and outcomes of Streamline's planning.
Below, we give an introduction to the Database connection dialog and discover the generic capabilities of this connector. You will learn how to establish a connection to a database and read the content of its tables.
To open the dialog, go to the menu File > New > Database connection.
![]()
The dialog differs only in database connection options whether the ODBC or MySQL driver is used. Below, we describe how to configure a connection to a database using the ODBC or MySQL option of the dialog.
There are three ways to connect to an ODBC data source in Streamline:
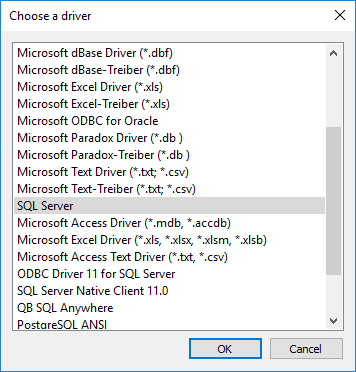
After the driver has been selected, Streamline opens its native configuration dialog where you can set up the database (or data file) and enter login credentials. Finally, Streamline automatically inserts the resulting connection string into the Data source name field.
Host is the IP address, domain name, or LAN name of the MySQL server.
Port is the port listened to by the MySQL server.
Database is the name of the database you are connecting to.
After the driver settings are set, enter the database account credentials into the Username and Password fields of the dialog.
Note to MySQL 8.0+ users that use direct access (MySQL, not ODBC).
You may experience ”authentication plugin 'caching_sha2_password' cannot be loaded” error. This error happens to many of third-party MySQL administration tools, not just Streamline. There are two ways to fix it:
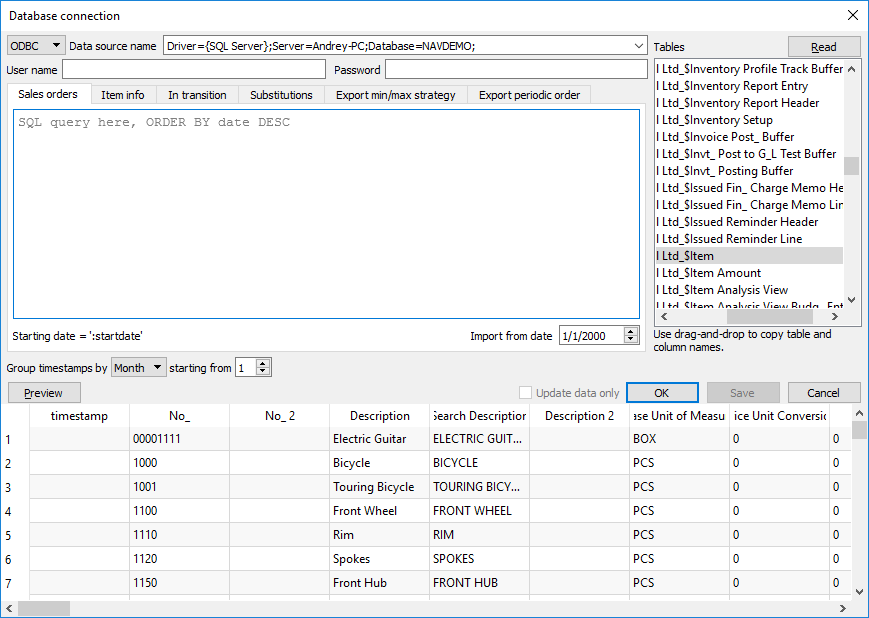
To read the tables of the database, click the Read button. The list of the tables will appear on the right side of the dialog.
To show the content of a table, double-click on the table name in the list. The content will appear in the table at the bottom of the dialog.
If you encounter an Unknown ODBC error (occurred at SQLFetch) or [Microsoft] [ODBC SQL Server Driver] Unknown token received from SQL Server (occurred at SQLFetch), it is likely due to an outdated version of the installed driver.
It's important to note that there are three generations of Microsoft ODBC drivers for SQL Server. The first one, the “SQL Server” ODBC driver, is no longer recommended for new development and still ships as part of Windows Data Access Components. The second generation is the SQL Server Native Client, which includes an ODBC interface and shipped with SQL Server 2005 through 2012 but is also not recommended for new development. For the most recent server features, it is recommended to use the latest generation of the driver, the Microsoft ODBC Driver for SQL Server, updated regularly and was first released after SQL Server 2012. To upgrade to the newest version of the ODBC driver, please follow the link provided.
The newest version of the ODBC driver can be found here
Also, specify the ODBC driver in your connection string. Here is an example of the string: Driver={ODBC Driver 18 for SQL Server};Server=server-name;TrustServerCertificate=yes;Database=database-name;
 Manage book (
 Help
Help